JJ Creations
Sometimes... Your heart speaks best through your hands...!!!
Thursday 21 July 2022
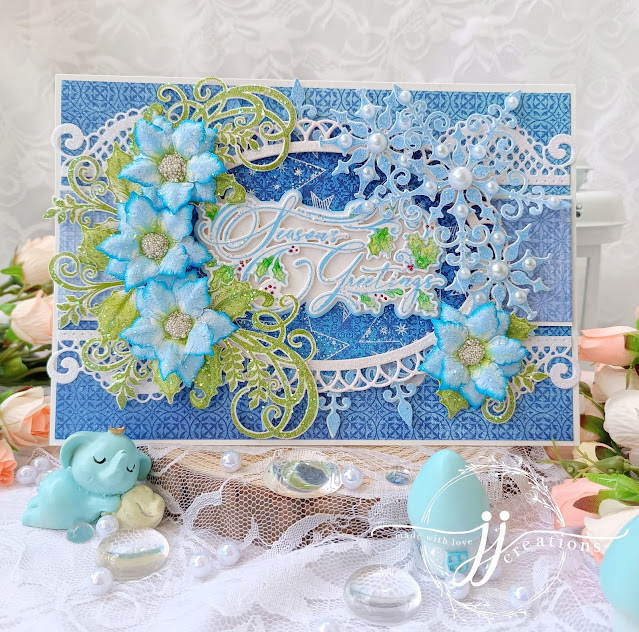
Heartfelt Creations DT - Snowflake Greetings
Thursday 14 July 2022
Heartfelt Creations - Holiday Star Spinner Card.
Tuesday 5 July 2022
Heartfelt Creations DT - Floral Celebration
Wednesday 22 June 2022
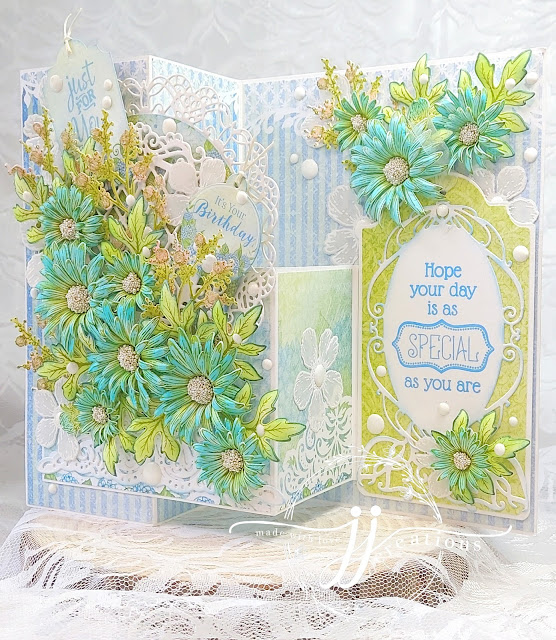
Heartfelt Creations DT - Special Birthday Z-fold card
Tuesday 14 June 2022
Heartfelt Creations DT - Sweet and Thoughtful


Tuesday 7 June 2022
Heartfelt Creations DT - Fairy Land
Cut a base of 8 1/2x11" out of cream card stock, score and fold to make a card base of size 8 1/2x6". Cut another cream card stock piece of 10x10" and create a shadow box of 6x6" size with 1/2" width. Use sheet 4A to cut a piece of 5 1\2x5 1\2” size, and adhere it to the inside part of the shadow box. Using sheet 3B from HCDP1-2140 - Mushroom Cottage Paper Collection, cut 2 piece each of size 8 1/8x5 7/8" and adhere them on the front and inside of the card. Use HCD1-7263 - Swirly Accent Spray Die to cut 4 corner die-cuts on cream card stock and adhere them on each of the corners inside the card base. Cut a piece of sheet 8B from the paper collection to size 6x6" and cut a 5 1\2" circle on the exact center, to create a window. Use HCD1-7212 - Petite Pocket Accents die on cream card stock and die-cut 4 pieces of the border. Using Aged Mahogany distress ink, sponge lightly on the edges of all the elements. Adhere 2 of the border along with the circle window on the shadow box and 2 on either end of the card base. Adhere the shadow on the center of the card front as shown. 
Stamp several images using HCPC-3989 - Large Mushroom Cottage Cling Stamp Set, HCPC-3990 - Mini Mushroom Cottages Cling Stamp Set, HCPC-3991 - Mushroom Fairies Cling Stamp Set, HCPC-3992 - Mushroom Cottage Accents Cling Stamp Set onto white card stock with Jet Black ink and the leaf accents with Fern green ink. Color all images using water colors and cut them using their coordinating dies. Sponge the edges of the leaf accents using Cobalt ink. For the large and mini mushroom cottages, stamp, color and cut all the images of the doors and windows. Using dries clear glue, add glitter on all the elements and tap off the excess. Arrange and adhere all these elements on the card front, using dimensional tape and hot glue.
Arrange these flowers on the card front as shown and adhere them using hot glue.
Tuesday 31 May 2022
Heartfelt Creations DT - Swirling Poppies
Hello and welcome my friends..
Today I'm sharing my first ever project as Design Team member of Heartfelt Creations.. I'm so excited to be a part of this team and hoping to share wonderful inspirations with you all in the coming year.
Today's project is using the Wild Poppy Collection and you can check for the direct link HERE along with the products used. Please do share your thoughts on this project, I would love to hear from you all.. 
Heartfelt Creations DT - Snowflake Greetings
Hello and welcome to another inspiration day... today I'm sharing another beautiful creation using the Star Holiday Collection from Hea...

-
Hello everyone... I would love to share my new project here - an altered violin. I wanted a bit of dimension for the violin, so I glued a t...
-
Hello all.. Sharing few of my Glass Painting collection... I created these paintings for my home as a decoration on ...
-
Hello everyone, today I'm sharing another beautiful project I created for a customized order.. this is a handmade album for Wedding gif...


