Hello everyone.. welcome to yet another beautiful day with a new inspiration.
This is a Z-fold card created with the beautiful Wild Asters..
For details on more of the instructions and complete product list, kindly check HERE.

The ready Z-fold card base measures 8 x 6" in size. To create the card base, cut a white card stock to size 8 x 12" and score along the long side at 3" and 6" to create a zigzag folded base. Using designer papers from HCDP1-2111 - Cottage Garden Paper Collection cut pieces for each of the sides keeping a border of 1/16" on all sides and adhere on the card base. Cut another piece of white card stock 4 x 11", score at 5" and 8" on the long side, fold and adhere to the card base as shown. Add mat layers on each of the folds using the designer paper again, keeping 1/16" border on all sides.
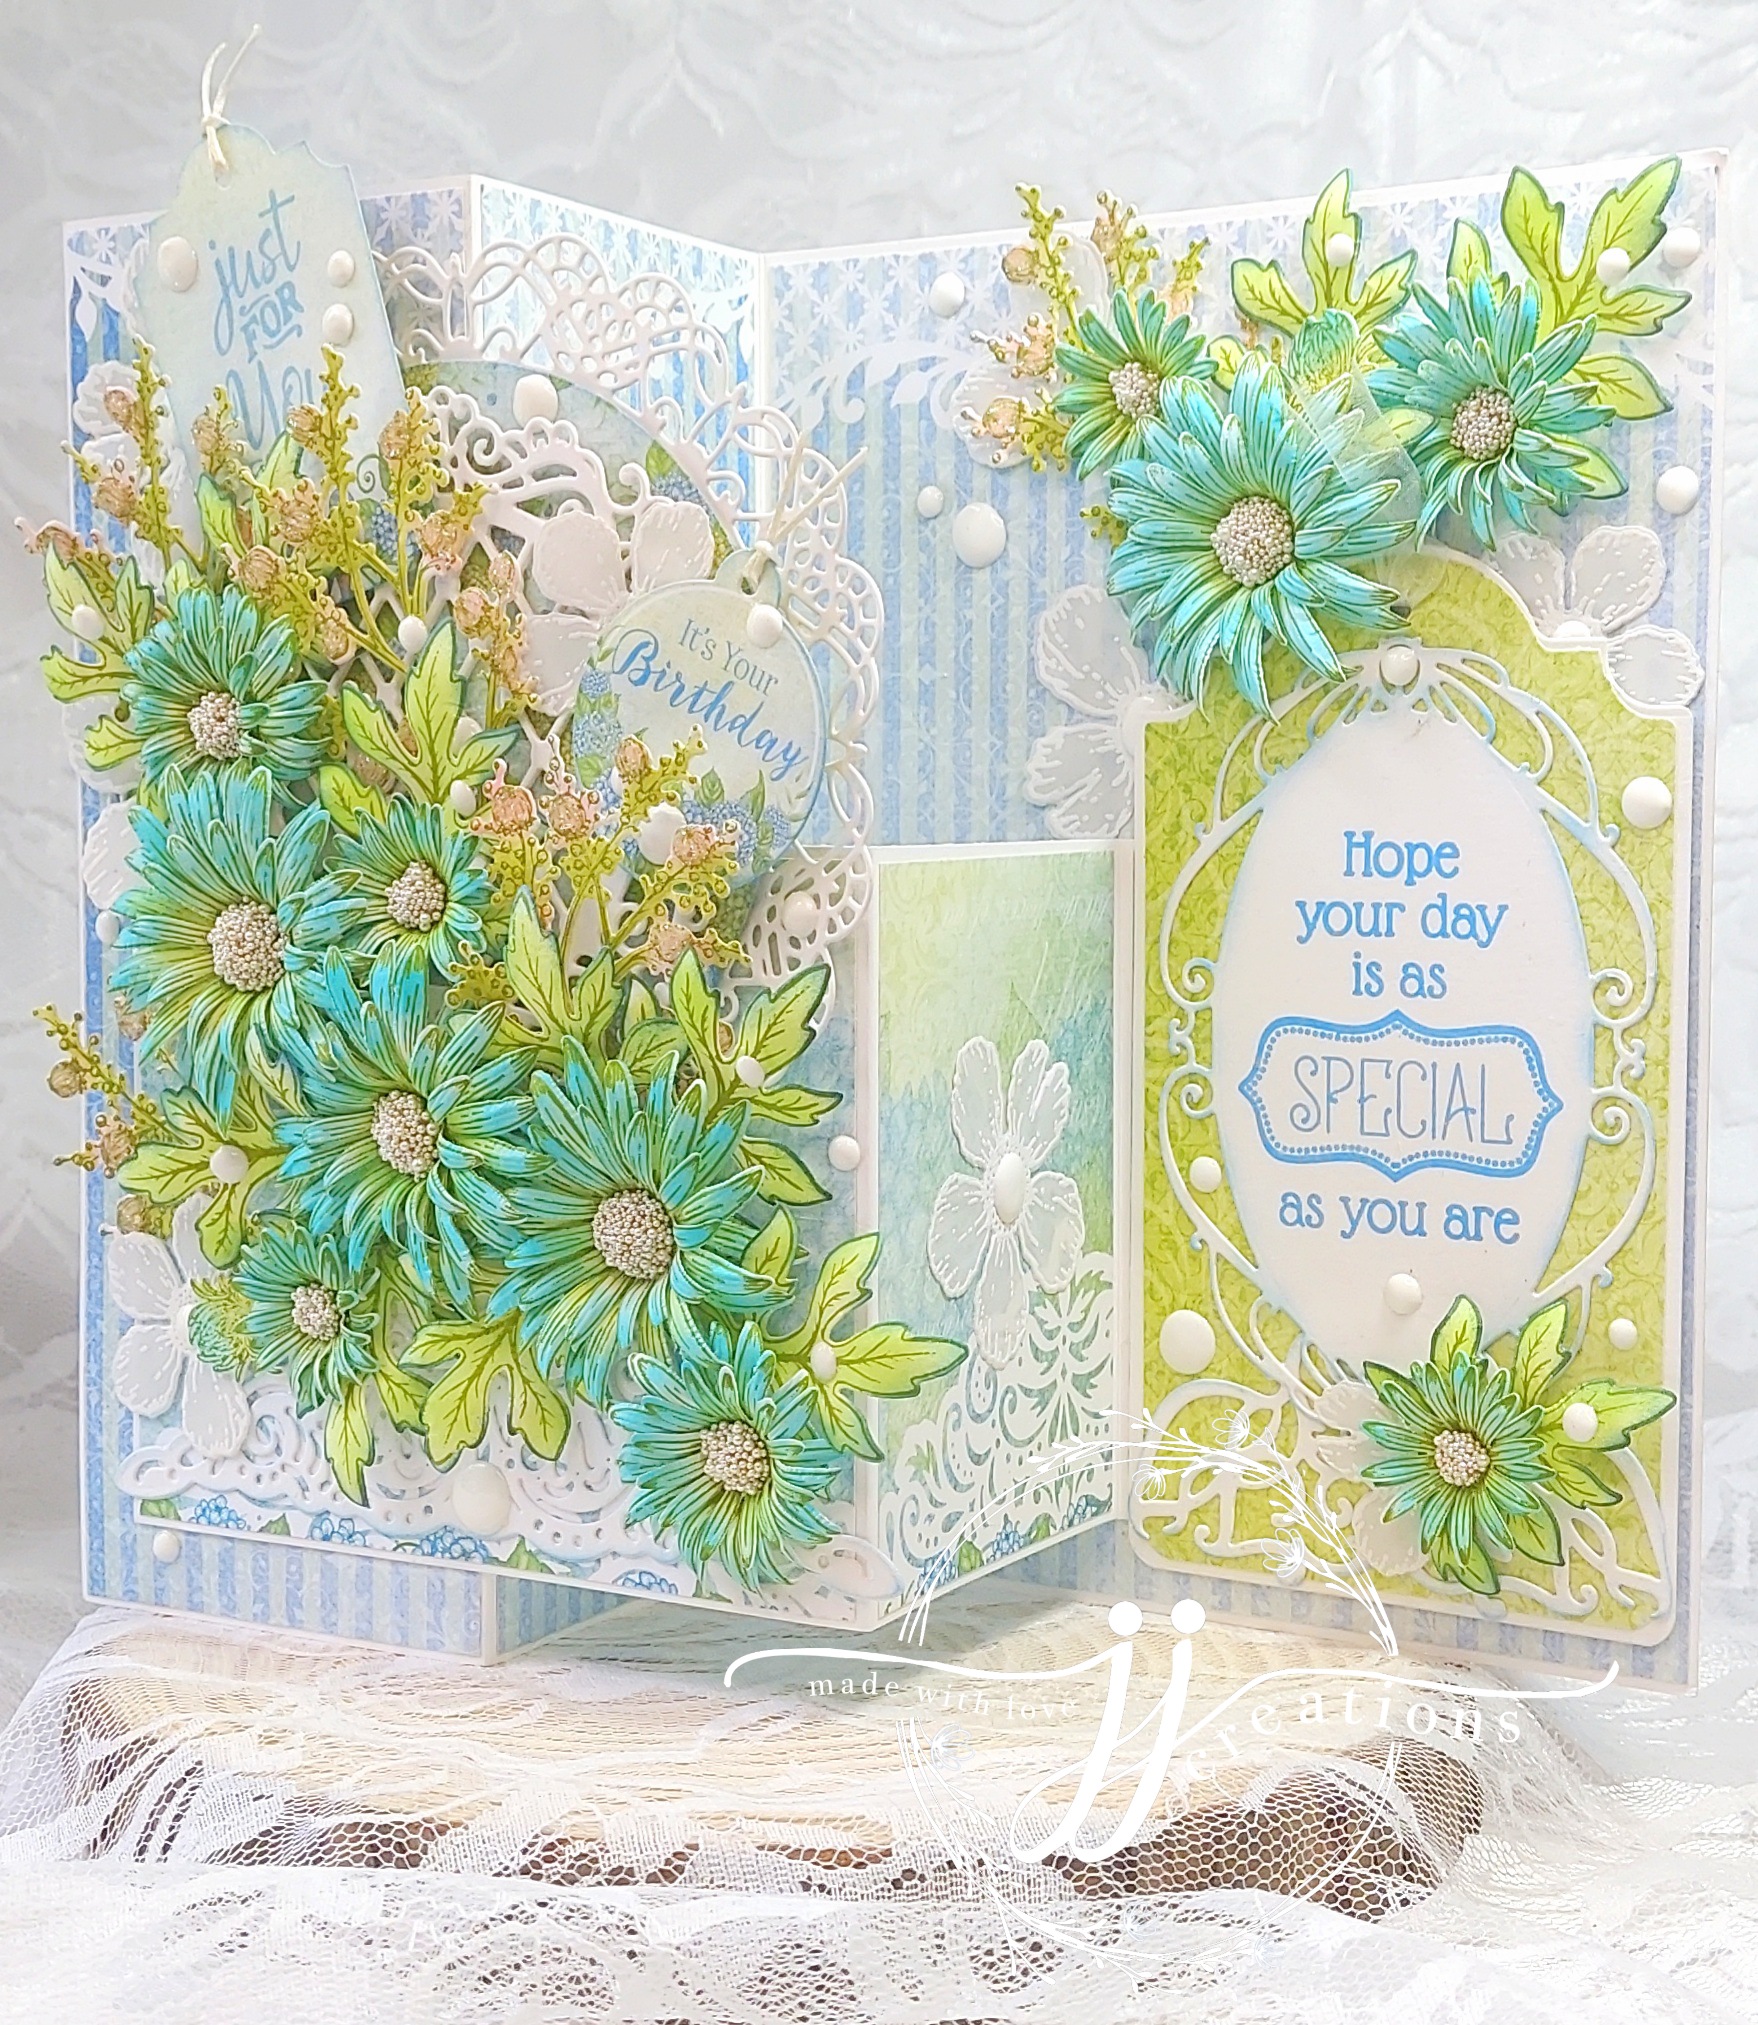
Using HCD1-7202 - Album Tags and Accents Die, cut the largest tag on white card stock and trim the sides to fit inside the inner panel of the card. Add a mat layer with the designer paper keeping a very fine border, punch a hole on the top. Adhere this to inner panel adding a ribbon on the top of the tag. Use HCD1-7263 - Swirly Accent Spray Die to die-cut 1 decorative piece on white card stock, slightly sponge with Periwinkle ink and adhere it to the bottom of the tag. Use HCD1-7305 - Ornate Ovals Die to die-cut another decorative oval on white card stock, stamp the sentiment from HCPC-3843 - Special Birthday Sentiments Cling Stamp Set with Periwinkle ink, sponge the edges with the same ink and adhere it on the top of the tag as shown.
Cut 1 piece from the largest and 3 from the center decorative accent on white card stock withHCD1-7271 - Rounded Window Frame Die. Add a mat circle piece for the largest decorative circle with designer paper.
Stack and adhere the smaller decorative accents together to give a thick accent piece. Use HCD1-7213 - Elegant Pocket Accents Die to die-cut 1 piece of the decorative accent on white card stock and sponge the edges slightly with Periwinkle ink. Adhere all these ready elements on the front panel as shown using dries clear glue and dimensional tape.

Stamp several of the medium and smaller flowers using HCPC-3887 - Wild Aster Cling Stamp Set on white card stock with Fern Green ink. Color them using Vivid Chartreuse and Aquamarine inks, cut them using the coordinating dies and shape using the stylus tools. Stack 2 large and 1 small petals for the larger flowers and 2 small petals each for the smallest flowers, add white micro pearls for the centers. Stamp the leaves with Fern Green ink and color using Vivid Chartreuse, cut using the coordinating dies and sponge the edges with Cobalt ink. Shape the leaves lightly using stylus tool. Stamp several images of the smallest aster spray using HCPC-3888 - Wild Aster Spray Cling Stamp Set on white card stock with Fern Green ink. Color the images using Pink Peony and Fern Green, cut using the coordinating dies and add crystal clear glitter by sponging some dries clear glue.

Cut 2 of the small tag images from the designer paper using HCD1-7203 - Ornamental Tags Die, stamp the sentiment on one using HCPC-3845 Just For You Sentiments Cling Stamp Set with Periwinkle ink, use the preprinted tag for the other, sponge the edges with the same ink and add white twine for each of the tags. Using the large flower image from HCPC-3906 - Small Wild Rose Cling Stamp Set, stamp and white heat emboss several images on Vellum and cut using the coordinating die. Arrange all the flowers, leaves, spray and the tags on the card as shown and adhere them using hot glue. Similarly add the white heat embossed flowers and Nuvo crystal drops randomly over the card as accents.


No comments:
Post a Comment